Introduction
Whether you want to save a TikTok tutorial, record gameplay, capture a bug to show Apple Support, or make a quick demo for a friend, knowing how to screen record on iPhone is incredibly useful. The best part? You don’t need any third-party apps. Every modern iPhone has a built-in screen recorder that works beautifully — if you know where to find it.
Despite being simple, many users still don’t realize how powerful the feature is. According to Apple’s usage trends shared in developer sessions, screen recording is one of the top 10 most-used Control Center tools. That’s because it’s fast, reliable, and works in almost any app.
In this complete guide, we’ll break down how to screen record on iPhone, how to enable audio, where the recordings save, troubleshooting tips, advanced settings, and pro-level tricks you probably didn’t know existed.
How to Enable Screen Recording on iPhone
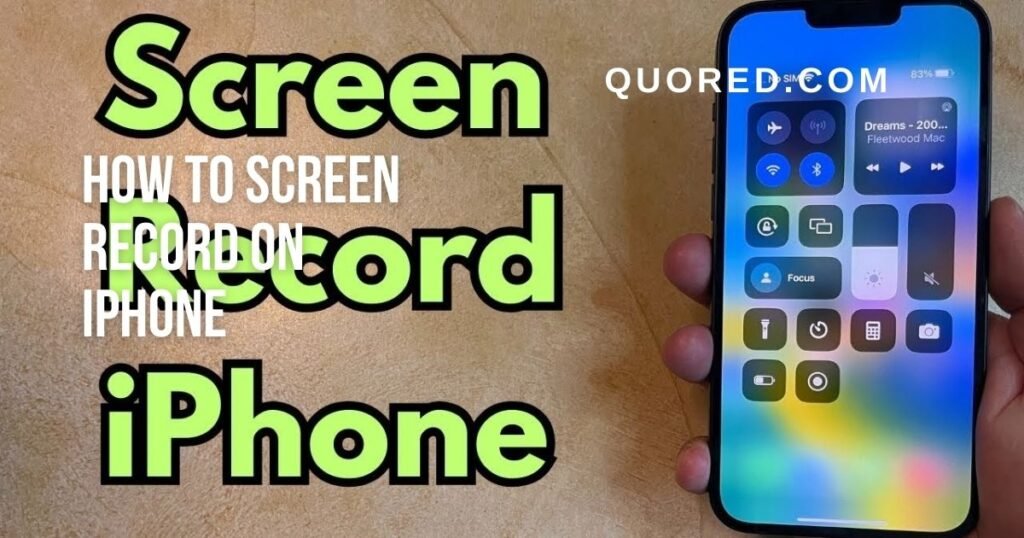
Before you start recording, you must add the Screen Recording button to the Control Center.
Here’s how:
Step 1 — Open “Settings”
On your iPhone, tap the Settings app.
This is where all your main features are controlled.
Step 2 — Go to Control Center
Scroll down and tap Control Center.
This menu lets you choose which shortcuts appear when you swipe down from the top-right corner.
Step 3 — Add Screen Recording
Find Screen Recording under “More Controls.”
Tap the green plus (+) icon to add it.
Once added, it moves to the top section, meaning it’ll appear in your Control Center.
This setup only needs to be done once!
How to Screen Record on iPhone (Step-by-Step)
Now that Screen Recording is in your Control Center, here’s how to start recording.
Step 1 — Open Control Center
On most iPhones:
Swipe down from the top-right corner of the screen.
On older iPhones with a Home button:
Swipe up from the bottom of the screen.
Step 2 — Tap the Record Icon
You’ll see a circular icon with a dot in the middle.
Tap it.
A 3-second countdown begins, giving you time to open whatever you want to record.
Once the timer ends, your iPhone starts recording the entire screen.
Step 3 — Stop Recording
When you’re done:
-
Tap the red pill-shaped timer at the top
OR -
Open Control Center and tap the record icon again
Your recording instantly saves to the Photos app.
How to Record Screen With Sound on iPhone
One of the most common questions is: “Why can’t I record audio?”
By default, iPhone screen recording captures internal sounds (like apps, music, or game audio), but not your microphone voice — unless you activate it.
Here’s how to turn it on:
Add Microphone Audio
-
Open Control Center.
-
Press and hold (long-press) the Screen Recording button.
-
Tap the Microphone icon at the bottom to turn it On.
-
Tap Start Recording.
Now, your iPhone will record your voice + screen audio.
This is perfect for:
-
Tutorials
-
Reaction videos
-
School assignments
-
Voice-over walkthroughs
-
App demonstrations
Where Screen Recordings Are Saved
After stopping a recording, your iPhone automatically saves it to:
Photos → Recents
You can also find them under:
-
Albums → Screen Recordings
From there, you can:
-
Trim the video
-
Add filters
-
Share via WhatsApp, AirDrop, or Messages
-
Save to Files
-
Edit with iMovie or CapCut
How to Edit a Screen Recording on iPhone
The iPhone makes quick edits simple without needing special software.
Trimming the Video
-
Open Photos
-
Select your recording
-
Tap Edit
-
Drag the left and right sliders to trim
-
Tap Done → Save as New Clip
Removing Audio
Inside the Edit panel, tap the speaker icon to disable sound.
Cropping or Rotating
You can rotate or crop the recording using the built-in crop tools.
All edits can be reversed anytime, thanks to non-destructive editing.
Advanced Screen Recording Features on iPhone
Even experienced users don’t know these tips exist. These small tricks can dramatically improve your recording quality.
Tip 1 — Turn On Do Not Disturb
Ever recorded your screen and got a notification mid-recording? Embarrassing.
Enable Do Not Disturb or Focus Mode before recording to block notifications.
Tip 2 — Disable Pop-ups
Turn off:
-
Keyboard click sounds
-
Low battery notifications
-
Message previews
-
Notification banners
This ensures a cleaner recording.
Tip 3 — Use Guided Access to Lock the Screen to One App
This prevents accidental touches while recording.
Tip 4 — Use External Microphone
If you plug in a high-quality external mic (Lightning or USB-C), the iPhone uses it automatically for screen-recording voice-overs.
Tip 5 — Record in Landscape Mode
Perfect for:
-
YouTube tutorials
-
Game recordings
-
App walkthroughs
-
Presentation demos
Tip 6 — Use 4K Recording for Higher Quality
While screen recording doesn’t use the camera, your iPhone uses its display resolution.
A newer iPhone with a higher-resolution screen produces crisper results.
Common Problems & How to Fix Them
Even though screen recording is simple, people often run into issues. Here are the solutions.
1. Screen Recording Not Working?
Possible fixes:
-
Restart your iPhone
-
Check if you have storage space
-
Turn off Low Power Mode
-
Disable Screen Time restrictions
Many apps (like some streaming services) block recording for copyright reasons — the screen will appear black.
2. No Sound in Screen Recording
Possible cause: Microphone is off.
Fix:
-
Long-press the Screen Recording icon
-
Enable Microphone On
3. Video Looks Blurry
To fix:
-
Clean your screen
-
Record in landscape
-
Close background apps
4. iPhone Overheating During Long Recordings
Try:
-
Reducing screen brightness
-
Removing the phone case
-
Stopping unused apps
Real-World Examples of When Screen Recording is Useful
Screen recording is not just a feature — it’s a tool. Everyday iPhone users rely on it for dozens of reasons.
Here are real examples:
1. Teachers & Students
Online learning increased screen recording usage by more than 60%, according to educational app analytics. Students use it for saving lessons, capturing slides, and explaining assignments.
2. Gamers
Gamers use screen recording to capture gameplay, walkthroughs, and tutorials. Many iPhone gamers record short clips to share on platforms like TikTok and Instagram.
3. Troubleshooting Tech Issues
If your iPhone is glitching, recording the issue helps Apple Support diagnose it faster.
4. Social Media Creators
Creators use screen recording to:
-
Show how apps work
-
Capture trends
-
Make reaction videos
-
Record commentaries
5. Saving Temporary Content
Stories, disappearing messages, and limited-time posts can be quickly recorded (as long as it doesn’t violate privacy guidelines).
Pro Tips to Make Your Screen Recordings Look More Professional
If you want your recordings to look like something from a YouTube video, try these tips.
Clean Up Your Home Screen
Hide unnecessary apps and clutter.
Turn On Dark Mode
Dark backgrounds look cleaner and reduce glare.
Use a steady hand
Avoid constant swiping and rushing. Slow, deliberate movements look more professional.
Add Voice Narration
Explain what you’re showing to make your videos more useful.
Conclusion
Learning how to screen record on iPhone is one of the most useful skills for everyday users, students, creators, gamers, and professionals. The built-in tool is simple, powerful, and incredibly convenient — no apps required.
Once you understand how to enable the feature, record audio, edit clips, and fix common issues, you can create clean, high-quality screen recordings anytime you want.
Also Read: Is Bastinews.xyz Legit? A Critical Look at Bastinews.xyz in 2025
FAQs
1. Why can’t I find the screen recording feature on my iPhone?
Because it’s not added to the Control Center yet.
Go to Settings → Control Center → Add Screen Recording.
2. Does screen recording capture FaceTime calls?
It can capture video but not the other person’s audio, due to privacy protections.
3. Can I screen record streaming apps?
Some apps block recording for copyright reasons. You may see a black screen.
4. Does screen recording reduce iPhone battery life?
Temporarily yes — recording uses the processor and display. For long recordings, keep your phone plugged in.
5. Can I edit a screen recording on iPhone?
Yes. The Photos app lets you trim, crop, rotate, and edit sound easily.